react-tableで表の特定列・行を固定する方法

Photo by Mika Baumeister on Unsplash
本記事の内容
react-table を使う際に、
- スクロールしつつ、表のヘッダー部分のみ固定する
- スクロールしつつ、表の左一列のみ固定する
方法を紹介する。
なお、列の固定には、react-table-sticky というライブラリを使用する方法もあるが、今回はライブラリを使用しない方法を紹介する。
実装環境
react-table 7.8.0
ソースコード
コードは、react-table 公式ドキュメントにある Exaples/Basic をそのまま使用した。 ソースコードと CodeSandbox は、以下リンクからどうぞ。
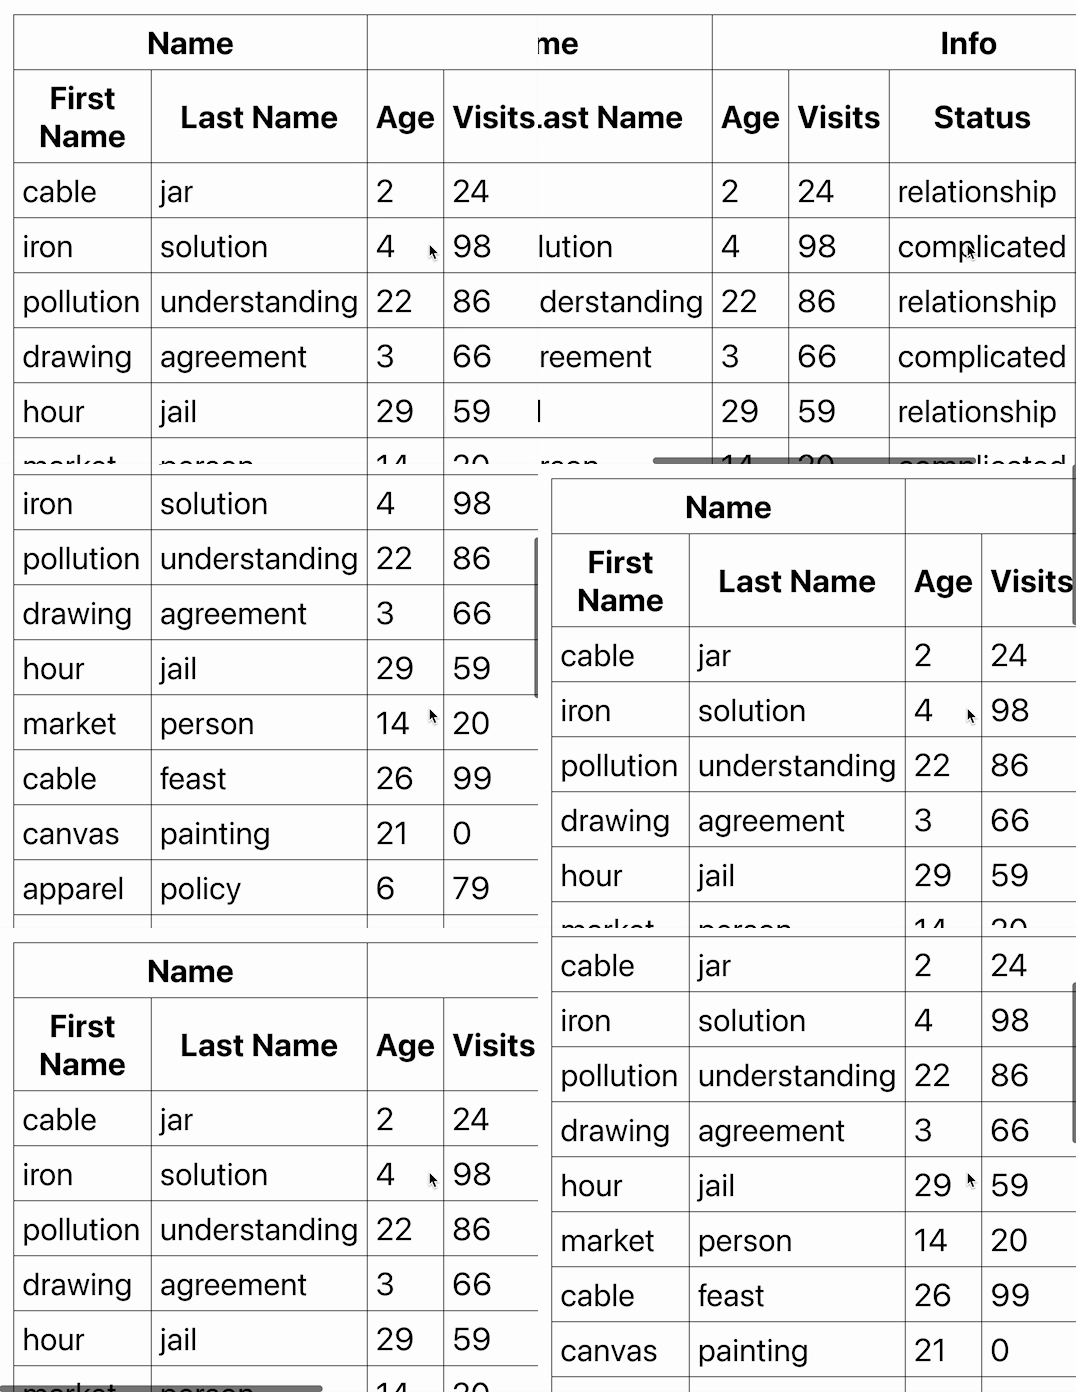
CodeSandbox で確認してみると、こんな感じ。
 元のコード。(https://codesandbox.io/s/laughing-glade-hw5vwm?file=/src/App.js より。)
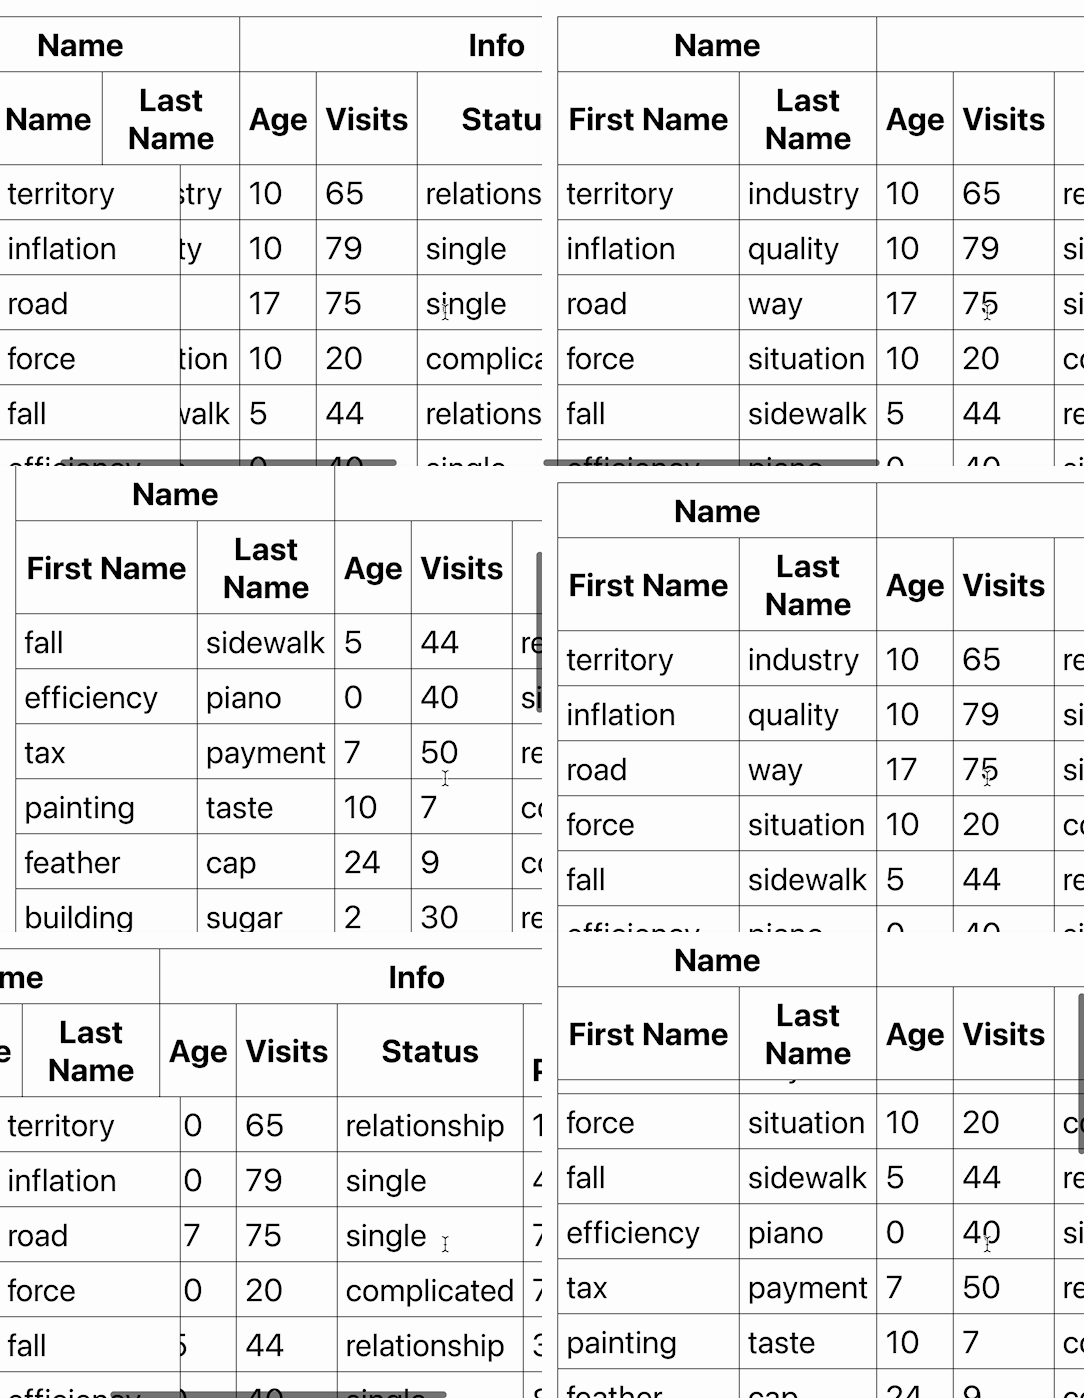
コード追記後
 追記後。
追記後。
  import React from "react";
  import styled from "styled-components";
  import { useTable } from "react-table";

  import makeData from "./makeData";

  const Styles = styled.div`
    padding: 1rem;
+   font-size: 200%; /* 表を画面いっぱいに表示させてスクロールさせるため。ここは参考にしなくて大丈夫です */

  table {
    border-spacing: 0;
    border: 1px solid black;

+     /* スクロールしつつ、表のヘッダー部分のみ固定する */
+     thead {
+       background-color: white;
+       position: sticky;
+       top: 0;
+       z-index: 2;
+     }

      tr {
        :last-child {
          td {
            border-bottom: 0;
          }
        }
      }

      th,
      td {
        margin: 0;
        padding: 0.5rem;
        border-bottom: 1px solid black;
        border-right: 1px solid black;

        :last-child {
          border-right: 0;
        }
      }

+     /* スクロールしつつ、表の左一列のみ固定する */
+     td {
+       :first-child {
+         background-color: white;
+         position: sticky;
+         left: 0;
+         z-index: 1;
+       }
+     }
    }
  `;

  function Table({ columns, data }) {
    // Use the state and functions returned from useTable to build your UI
    const {
      getTableProps,
      getTableBodyProps,
      headerGroups,
      rows,
      prepareRow
    } = useTable({
      columns,
      data
    });

    // Render the UI for your table
    return (
      <table {...getTableProps()}>
        <thead>
          {headerGroups.map((headerGroup) => (
            <tr {...headerGroup.getHeaderGroupProps()}>
              {headerGroup.headers.map((column) => (
                <th {...column.getHeaderProps()}>{column.render("Header")}</th>
              ))}
            </tr>
          ))}
        </thead>
        <tbody {...getTableBodyProps()}>
          {rows.map((row, i) => {
            prepareRow(row);
            return (
              <tr {...row.getRowProps()}>
                {row.cells.map((cell) => {
                  return <td {...cell.getCellProps()}>{cell.render("Cell")}</td>;
                })}
              </tr>
            );
          })}
        </tbody>
      </table>
    );
  }

  function App() {
    const columns = React.useMemo(
      () => [
        {
          Header: "Name",
          columns: [
            {
              Header: "First Name",
              accessor: "firstName"
            },
            {
              Header: "Last Name",
              accessor: "lastName"
            }
          ]
        },
        {
          Header: "Info",
          columns: [
            {
              Header: "Age",
              accessor: "age"
            },
            {
              Header: "Visits",
              accessor: "visits"
            },
            {
              Header: "Status",
              accessor: "status"
            },
            {
              Header: "Profile Progress",
              accessor: "progress"
            }
          ]
        }
      ],
      []
    );

    const data = React.useMemo(() => makeData(20), []);

    return (
      <Styles>
        <Table columns={columns} data={data} />
      </Styles>
    );
  }

  export default App;
また、表の左二列をまとめて固定したいときは、以下のようになる。
      td {
        /* 左一列目 */
        :first-child {
          background-color: white;
          position: sticky;
          left: 0;
          z-index: 1;
        }

+       /* 表の左二列目も固定する */
+       :nth-child(2) {
+         background-color: white;
+         position: sticky;
+         left: /* 一列目のwidth */;
+         z-index: 1;
+       }
+     }